🙋🏻 HTML Images
HTML images are used to display images on a web page. They allow you to include pictures, graphics, and other visual elements in your content. In this tutorial, you will learn how to use HTML image tags to add images to your web pages.
HTML Image Tag
HTML images are defined with the <img> tag. The <img> tag is an empty tag that does not have a closing tag. It is used to embed an image in an HTML document.
The <img> tag has the following attributes:
src: Specifies the URL of the image file.alt: Specifies an alternate text for the image.width: Specifies the width of the image in pixels.height: Specifies the height of the image in pixels.title: Specifies a title for the image.style: Specifies CSS styles for the image.class: Specifies one or more class names for the image.id: Specifies a unique id for the image.
Here is an example of an HTML image tag:
<!DOCTYPE html>
<html>
  <head>
    <title>Image Example</title>
  </head>
  <body>
    <h1>This is an Image</h1>
    <img src="logo.svg" alt="HTML Mastery logo" width="200" height="200">
  </body>
</html>
This is an Image
In the example above, the <img> tag is used to embed an image with the following attributes:
src: Specifies the URL of the image file.alt: Specifies an alternate text for the image.width: Specifies the width of the image in pixels.height: Specifies the height of the image in pixels.
HTML Image Map
HTML image maps are used to create clickable areas on an image. They allow you to define multiple clickable regions on an image and link them to different URLs. Image maps are defined using the <map> and <area> tags.
Here is an example of an HTML image map:
<!DOCTYPE html>
<html>
  <head>
    <title>Image Map Example</title>
  </head>
  <body>
    <h1>Click on the Image</h1>
    <img src="worldmap.jpg" alt="World Map" usemap="#worldmap" width="800" height="400">
    <map name="worldmap">
      <area shape="rect" coords="0,0,400,200" href="north-america.html" alt="North America">
      <area shape="rect" coords="400,0,800,200" href="south-america.html" alt="South America">
      <area shape="rect" coords="0,200,400,400" href="europe.html" alt="Europe">
      <area shape="rect" coords="400,200,800,400" href="asia.html" alt="Asia">
    </map>
  </body>
</html>
Click on the Image
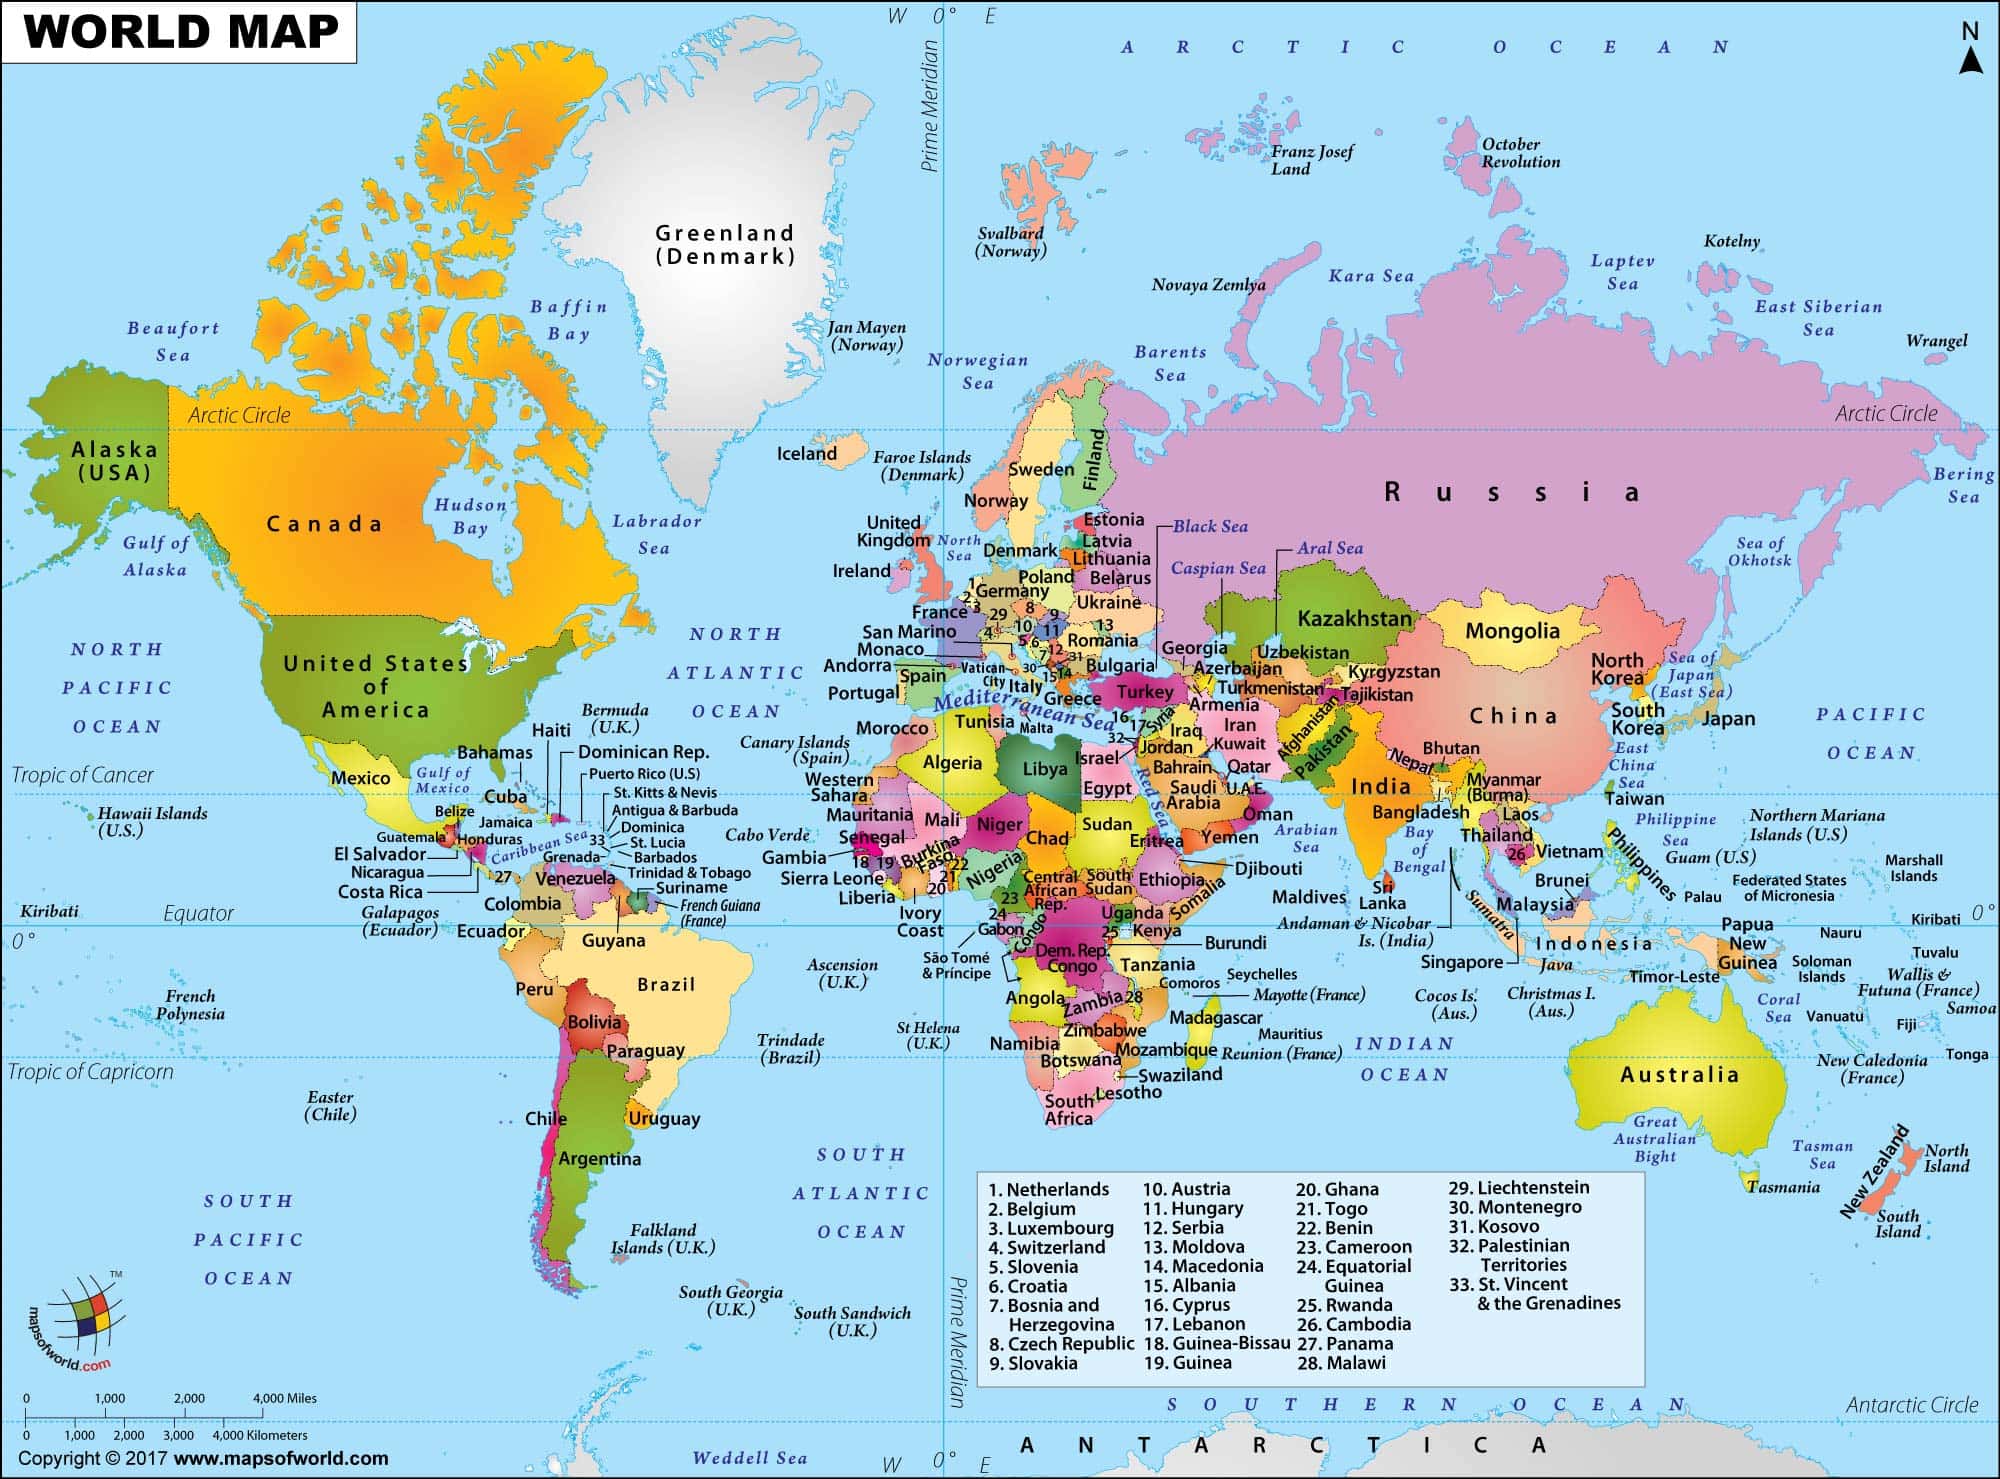
In the example above, the <map> tag is used to define an image map with clickable areas defined by the <area> tags. Each <area> tag specifies the shape, coordinates, and URL of a clickable region on the image.
HTML Image Sizes
When adding images to your web pages, it is important to specify the width and height of the images. This helps the browser to reserve space for the images before they are loaded, which prevents layout shifts when the images are displayed.
You can specify the width and height of an image using the width and height attributes of the <img> tag. It is recommended to specify the dimensions of the image in pixels to ensure that the layout is consistent across different devices and screen sizes.
Here is an example of specifying image sizes in HTML:
<!DOCTYPE html>
<html>
  <head>
    <title>Image Sizes Example</title>
  </head>
  <body>
    <h1>Image Sizes</h1>
    <img src="image.jpg" alt="Image" width="400" height="200">
  </body>
</html>
Image Sizes

In the example above, the width and height attributes are used to specify the dimensions of the image. The image is displayed with a width of 400 pixels and a height of 200 pixels.
HTML Image Alignment
You can align images in HTML using the align attribute of the <img> tag. The align attribute specifies the alignment of the image with respect to the surrounding content. It can have the following values:
left: Aligns the image to the left of the content.right: Aligns the image to the right of the content.top: Aligns the image to the top of the content.bottom: Aligns the image to the bottom of the content.
Here is an example of aligning an image in HTML:
<!DOCTYPE html>
<html>
  <head>
    <title>Image Alignment Example</title>
  </head>
  <body>
    <h1>Image Alignment</h1>
    <img src="image.jpg" alt="Image" width="150" height="100" align="right">
    <p>This is an example of aligning an image to the right of the content.</p>
  </body>
</html>
Image Alignment
This is an example of aligning an image to the right of the content.
In the example above, the align attribute is used to align the image to the right of the content. The text "This is an example of aligning an image to the right of the content." flows around the image.
HTML Image Border
You can add a border to an image in HTML using the border attribute of the <img> tag. The border attribute specifies the width of the border around the image in pixels. You can use the border attribute to add a border to an image and customize its appearance.
Here is an example of adding a border to an image in HTML:
<!DOCTYPE html>
<html>
  <head>
    <title>Image Border Example</title>
  </head>
  <body>
    <h1>Image Border</h1>
    <img src="image.jpg" alt="Image" width="200" height="150" border="1">
  </body>
</html>
Image Border
In the example above, the border attribute is used to add a border of 1 pixel around the image. You can customize the appearance of the border by specifying a different value for the border attribute.
HTML Image Caption
You can add a caption to an image in HTML using the <figure> and <figcaption> tags. The <figure> tag is used to group an image and its caption, while the <figcaption> tag is used to define the caption for the image.
Here is an example of adding a caption to an image in HTML:
<!DOCTYPE html>
<html>
  <head>
    <title>Image Caption Example</title>
  </head>
  <body>
    <h1>Image Caption</h1>
    <figure>
      <img src="image.jpg" alt="Image">
      <figcaption>This is an example of an image caption.</figcaption>
    </figure>
  </body>
</html>
Image Caption
In the example above, the <figure> tag is used to group the image and its caption, while the <figcaption> tag is used to define the caption "This is an example of an image caption."
HTML Image Gallery
You can create an image gallery in HTML using the <figure> and <figcaption> tags. You can group multiple images and their captions in a gallery to display them together on a web page.
Here is an example of creating an image gallery in HTML:
<!DOCTYPE html>
<html>
  <head>
    <title>Image Gallery Example</title>
  </head>
  <body>
    <h1>Image Gallery</h1>
    <figure>
      <img src="image1.jpg" alt="Image 1">
      <figcaption>Image 1</figcaption>
    </figure>
    <figure>
      <img src="image2.jpg" alt="Image 2">
      <figcaption>Image 2</figcaption>
    </figure>
    <figure>
      <img src="image3.jpg" alt="Image 3">
      <figcaption>Image 3</figcaption>
    </figure>
  </body>
</html>
Image Gallery


In the example above, multiple <figure> tags are used to group images and their captions in an image gallery. Each <figure> tag contains an image and its caption.
HTML Image Link
You can create an image link in HTML by wrapping an <img> tag inside an <a> tag. This allows you to make the image clickable and link it to a URL. Image links are commonly used for buttons, banners, and other interactive elements on a web page.
Here is an example of creating an image link in HTML:
<!DOCTYPE html>
<html>
  <head>
    <title>Image Link Example</title>
  </head>
  <body>
    <h1>Image Link</h1>
    <a href="https://codeharborhub.github.io">
      <img src="codeharborhub-social-card.jpg" alt="social card">
    </a>
  </body>
</html>
Image Link

In the example above, the <a> tag is used to create a link to the CodeHarborHub website, and the <img> tag is wrapped inside the <a> tag to create an image link. When the image is clicked, the user will be redirected to the CodeHarborHub website.
HTML Image Formats
There are several image formats that you can use in HTML to display images on a web page. The most common image formats supported by web browsers are:
- JPEG (Joint Photographic Experts Group): Suitable for photographs and images with many colors.
- PNG (Portable Network Graphics): Suitable for images with transparency and sharp edges.
- GIF (Graphics Interchange Format): Suitable for simple animations and images with few colors.
- SVG (Scalable Vector Graphics): Suitable for vector graphics and logos that need to be scaled without losing quality.
When choosing an image format for your web page, consider the type of image you are using and the desired quality and file size. Each image format has its own advantages and disadvantages, so choose the format that best suits your needs.
Conclusion
You now know how to use HTML image tags to add images to your web pages. You can use the <img> tag to embed images in your content and customize their appearance using attributes such as src, alt, width, and height. Try adding images to your HTML documents to enhance the visual appeal and interactivity of your web pages.